Training videos
Here we would like to provide you with some training videos to help you
get started quickly with the uniPRO software.
General
- Commissioning
the controller (9 minutes)
- Introduction to the
uniPRO Studio (30 minutes)
- Introduction
to logic programming (18 minutes)
- Visualization /
Navigation (17 minutes)
- Overlaying control
elements (3 minutes)
- Hidden work area (4
minutes)
- Presence
and presence simulation (14 minutes)
- Variables window (17 minutes)
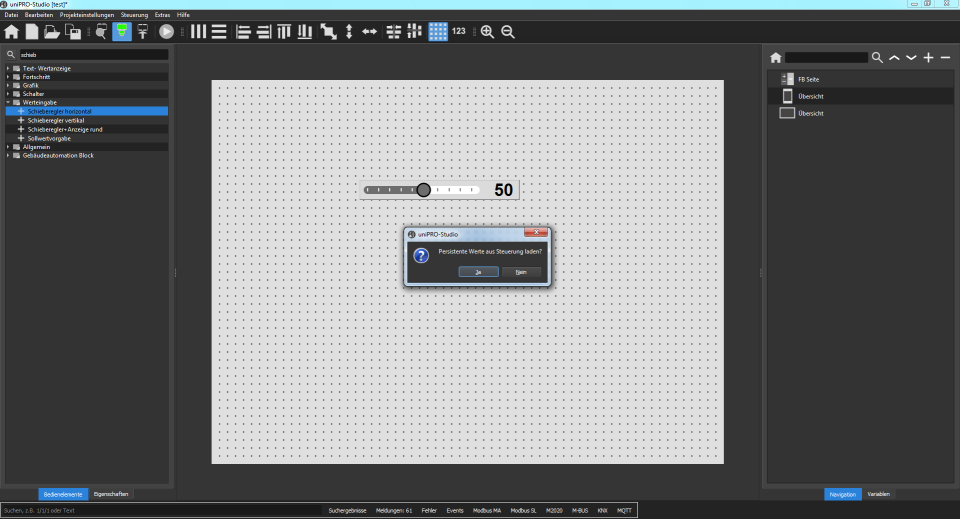
- Persistent data (6
minutes)
- Linking
variables automatically and tips (11 minutes)
- VPN online connection Web
(3 minutes)
- VPN
online connection Studio (3 minutes)
Special functions, control elements, function blocks
- Control elements default
parameters (2 minutes)
- Style (10 minutes)
- Alexa (7 minutes)
- User management (11
minutes)
- Code switch and Code
switch KNX (8 minutes)
- Custom popup
dialogs (14 minutes)
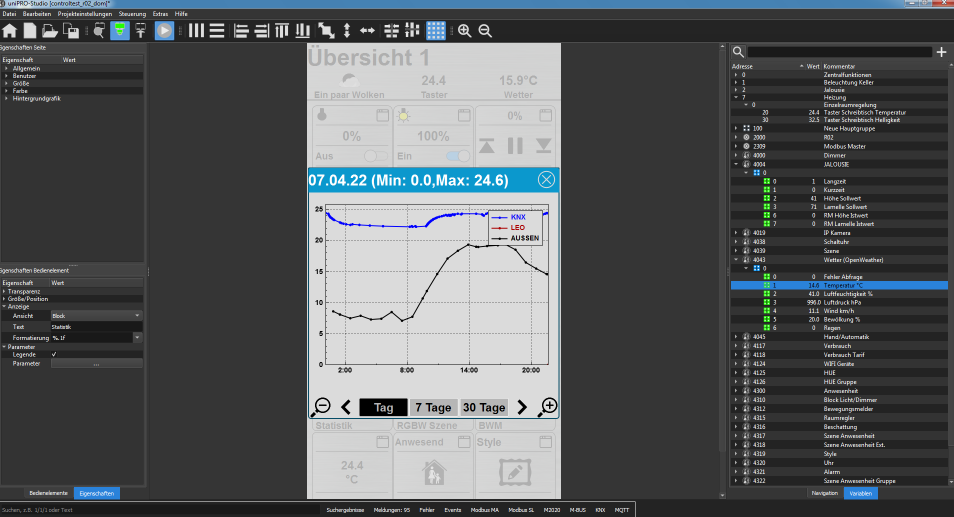
- Statistics (12 minutes)
- KNX remote programming (9
minutes)
- System addresses (8 minutes)
- Creating
multilingual visualizations (5 minutes)
- MQTT / WIFI devices (6 minutes)
- Backup controller (10 minutes)
- Telegram monitor (5 minutes)
- Push notifications
(2 minutes)
- M2020 IO modules (5 minutes)
- Script programming (17
minutes)
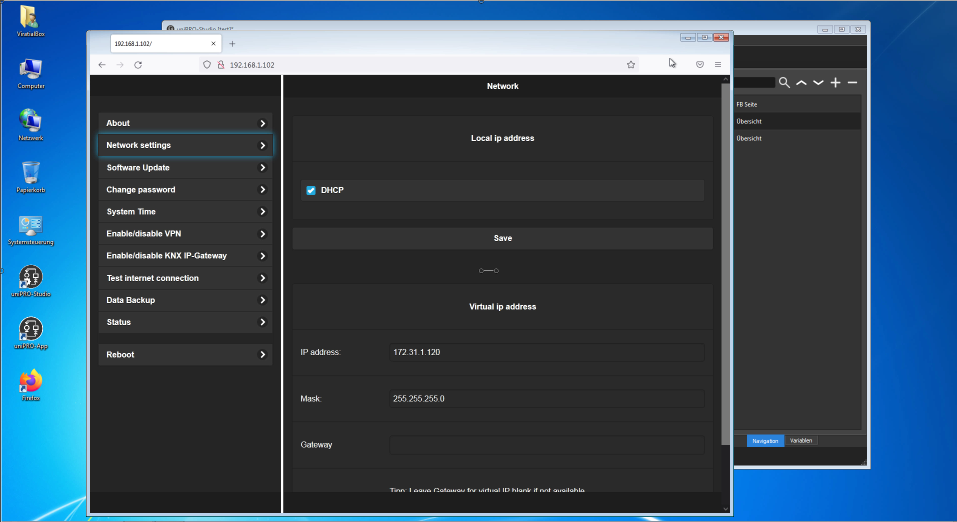
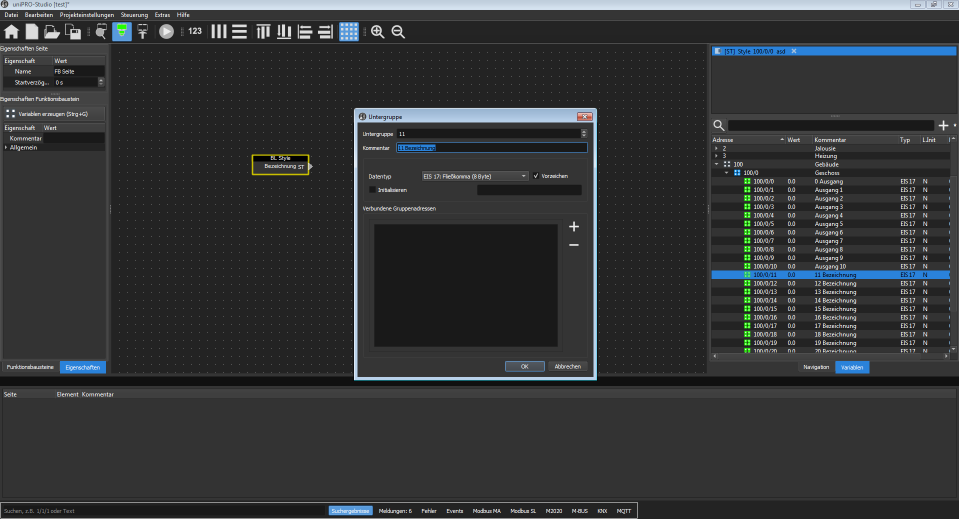
This video shows how to commission a new controller. It demonstrates how
to integrate the controller into the network and load a first project with
the uniPRO Studio. The topics of KNX address import and communication with
the KNX bus system are also addressed.
Click
here to start the video:
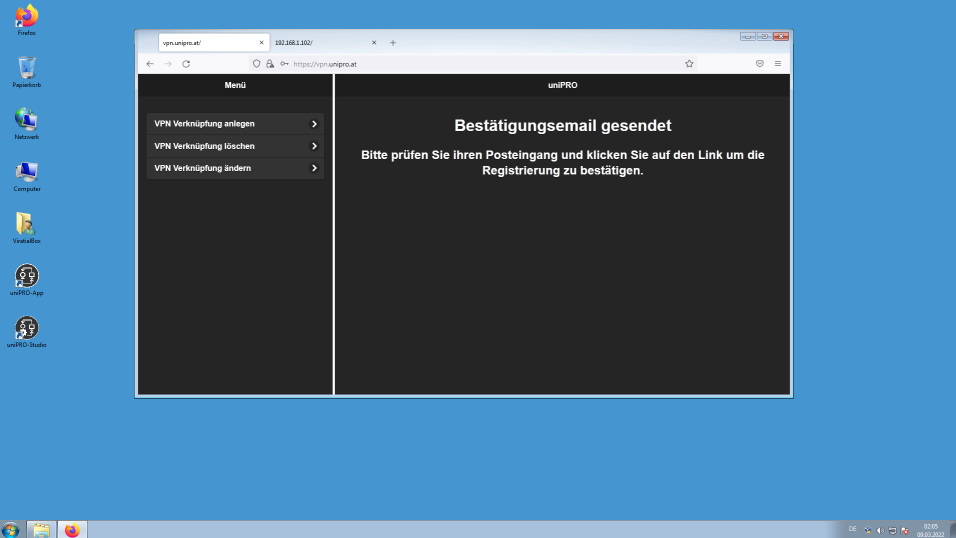
This video shows how to connect the
controller to the VPN service and register the access.
This video shows how to connect the
controller to the VPN service and register the access.
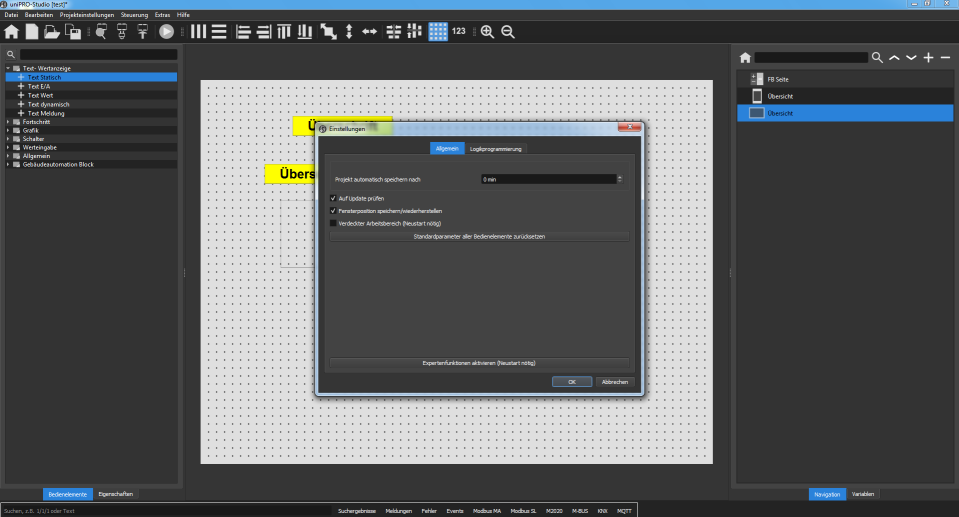
This video gives an introduction to the uniPRO Studio. It explains general
work with the Studio, function blocks, visualization, diagnostics and much
more. The topics of the help system, linking variables and logic
programming are addressed.
Click here to start the video:
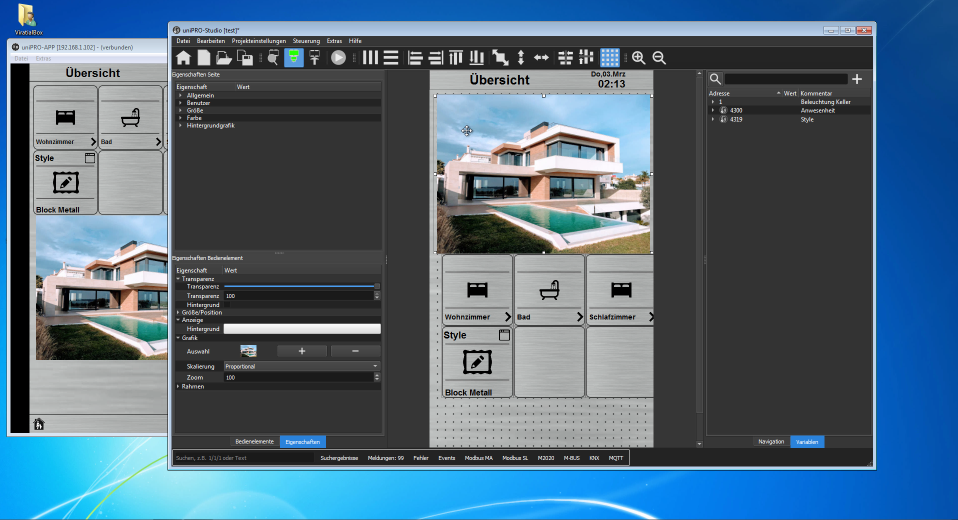
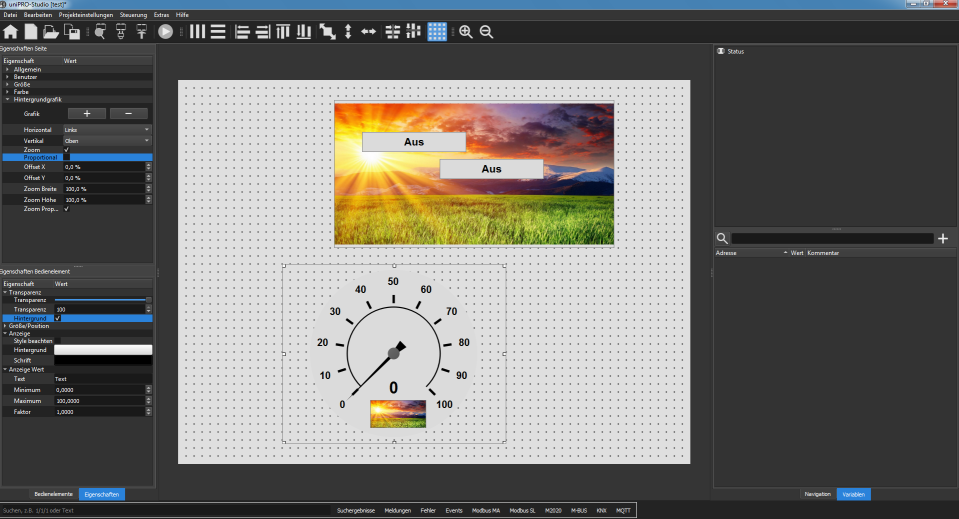
This video shows how to create an attractive visualization with Block
elements using simple means. The topics of Style, graphics and KNX are also
addressed.
Click
here to start the video:
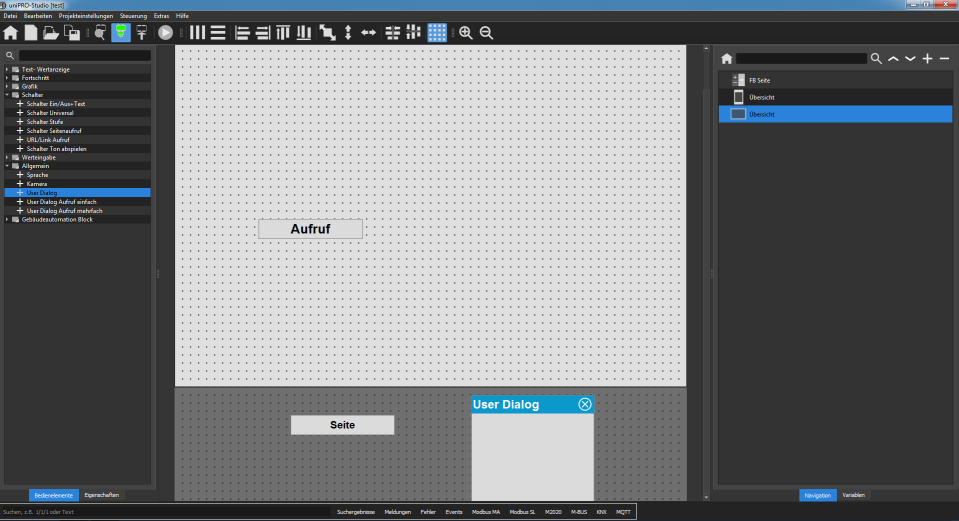
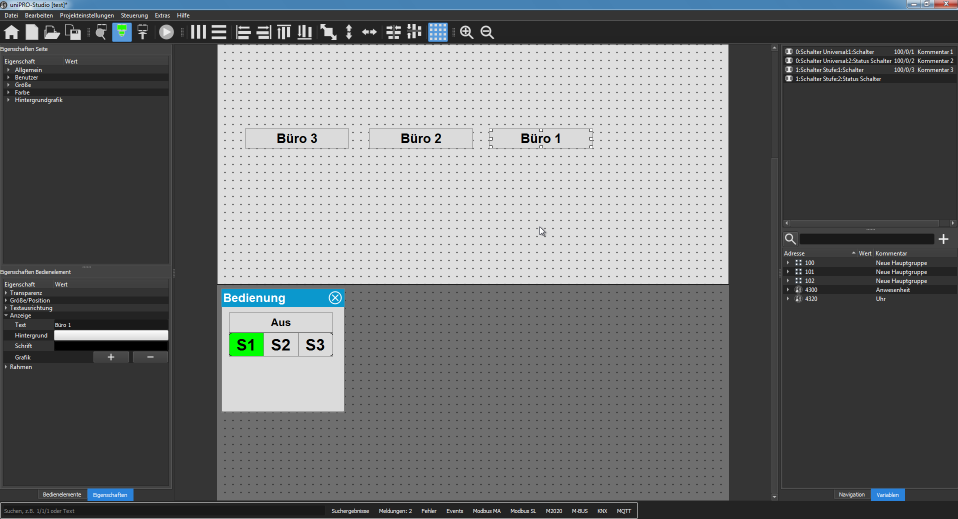
Overlaying control elements? That sounds simple at first, but there
are a few things to keep in mind. These are explained in this short video.
Click here to start the video:
In this section we show the hidden work area feature and some examples of
what it can be used for.
Click
here to start the video:
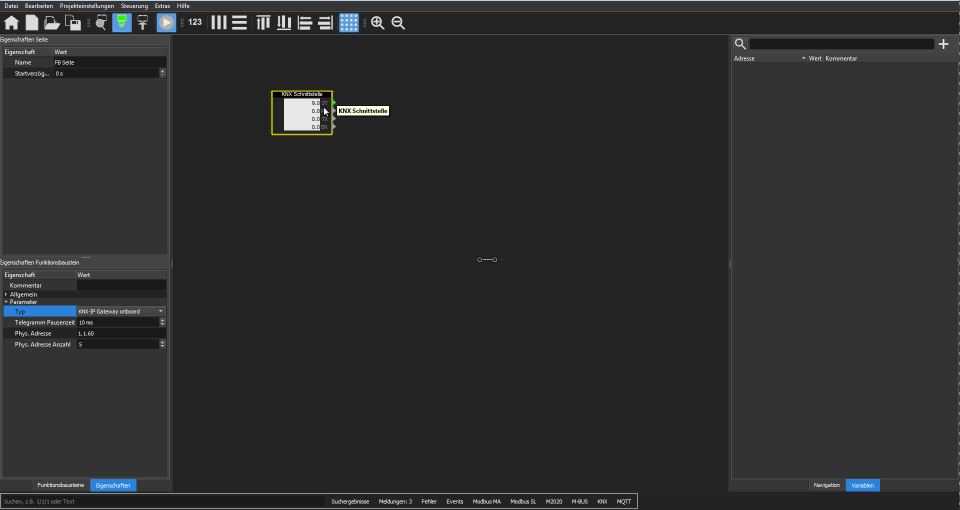
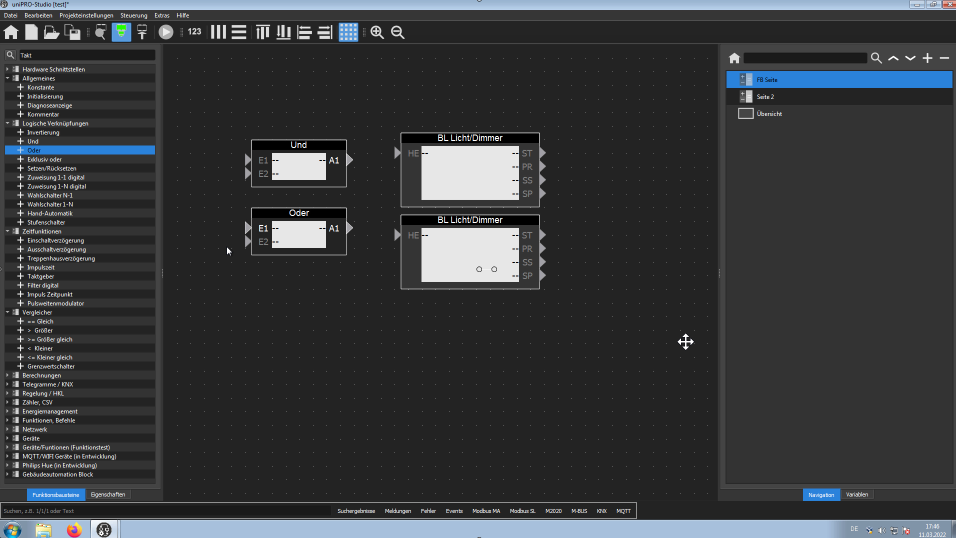
This video gives a general introduction to
logic programming.
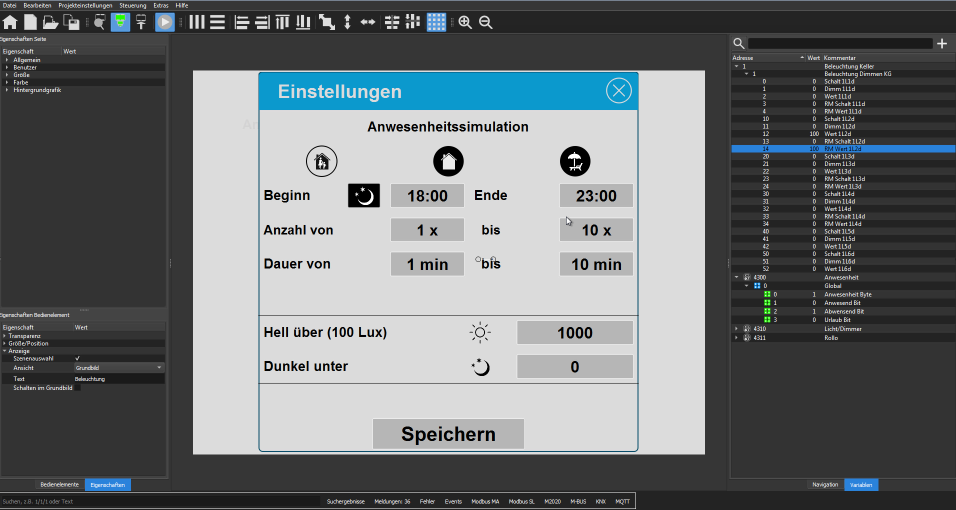
This video shows how the Presence concept works and how to use it in the
project. The topics of presence simulation, time switches and variable
links are also addressed.
Click
here to start the video:
This video shows the general handling of the
variables window.
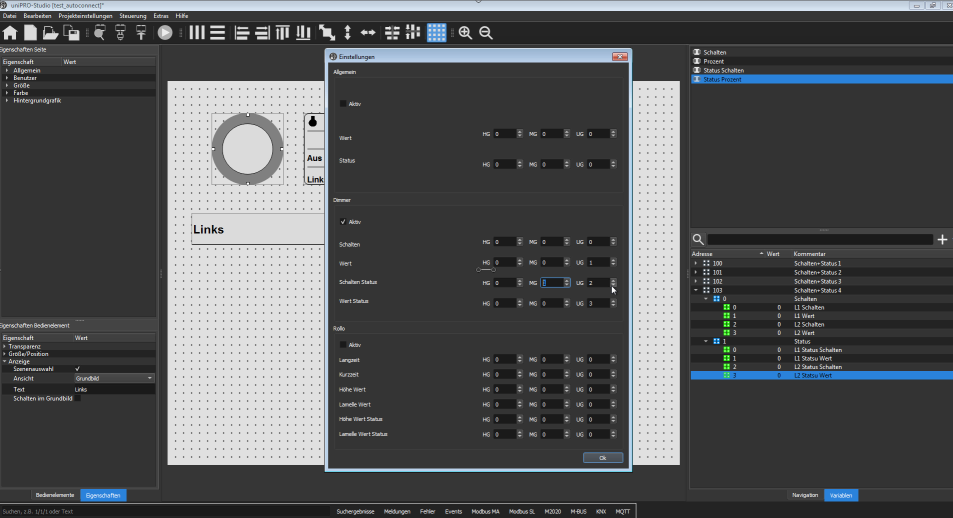
This video gives tips on how to link variables quickly and thereby save
time. In addition, the automatic linking function is explained.
Click here to start the video:
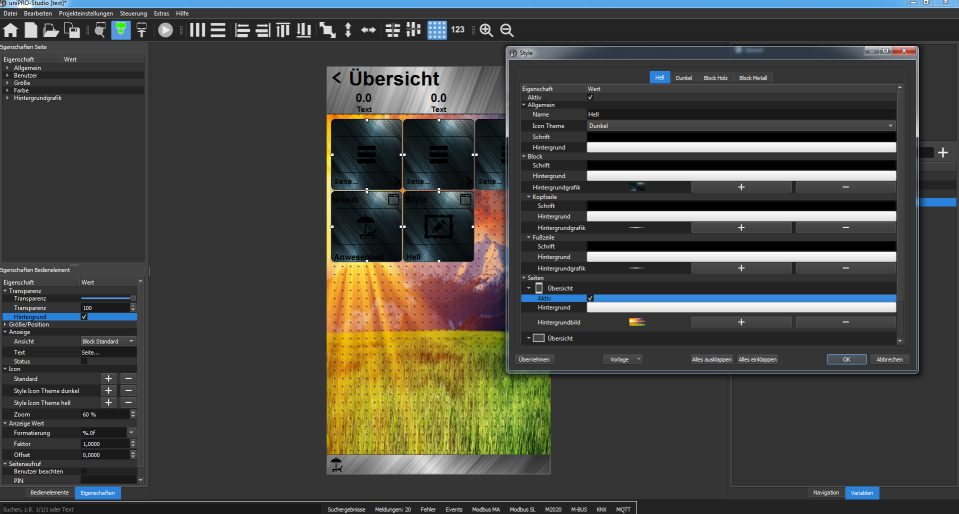
This video shows style switching. It also
shows how to create custom styles.
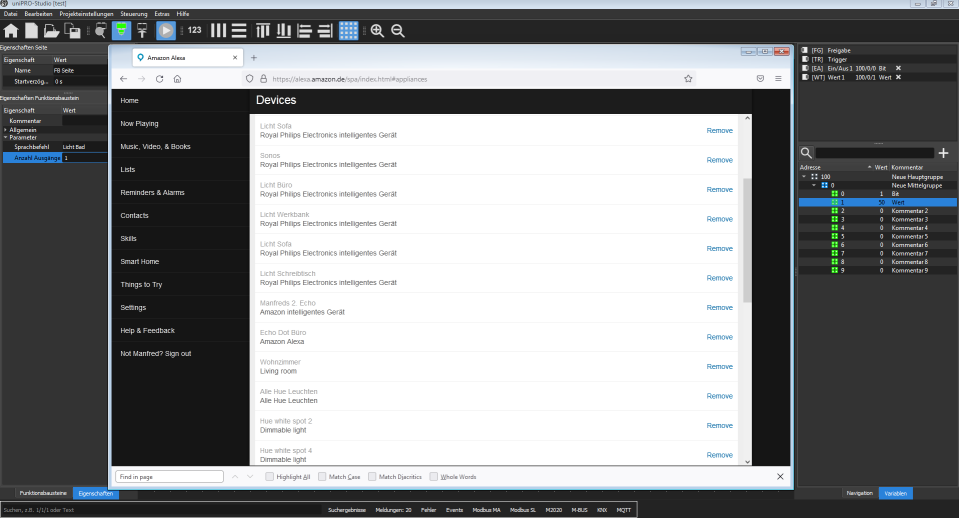
This video explains the Alexa connection. It
shows how to integrate a lighting system with address on/off and value and
control it by voice command.
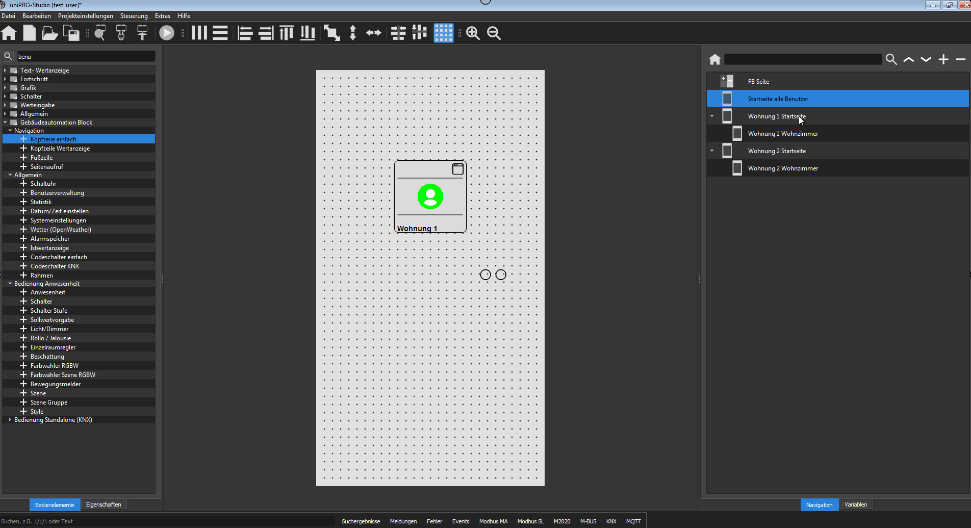
This video explains user management. The
example is a house in which there are two apartments. Using user
management, the project is configured so that the users can only access
the elements of their respective apartment.
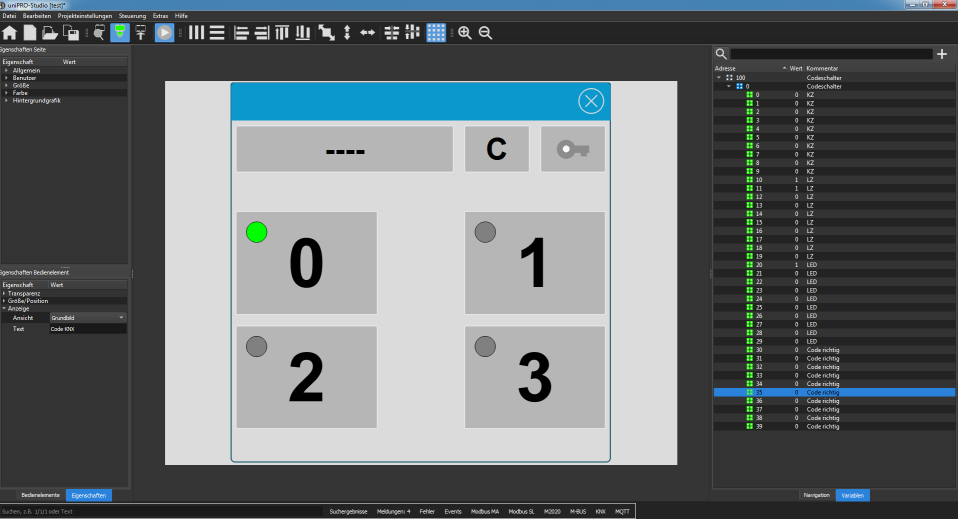
In this video two types of code switches are
presented. Code switches that are simply used on the APP, and KNX code
switches with which you can use a simple KNX button as a full-fledged
code keypad.
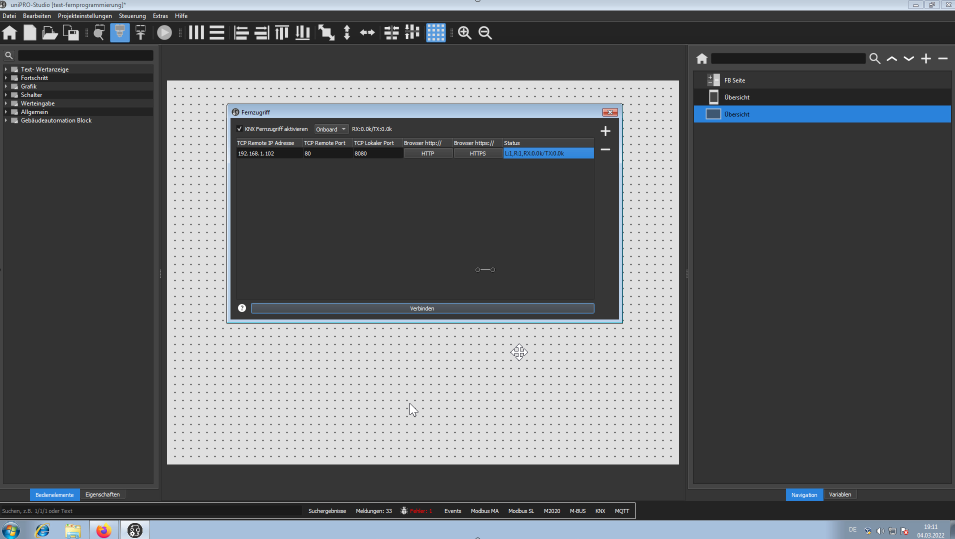
This video shows KNX remote programming. In
addition, TCP tunnels are explained, via which you can access devices in
the network.
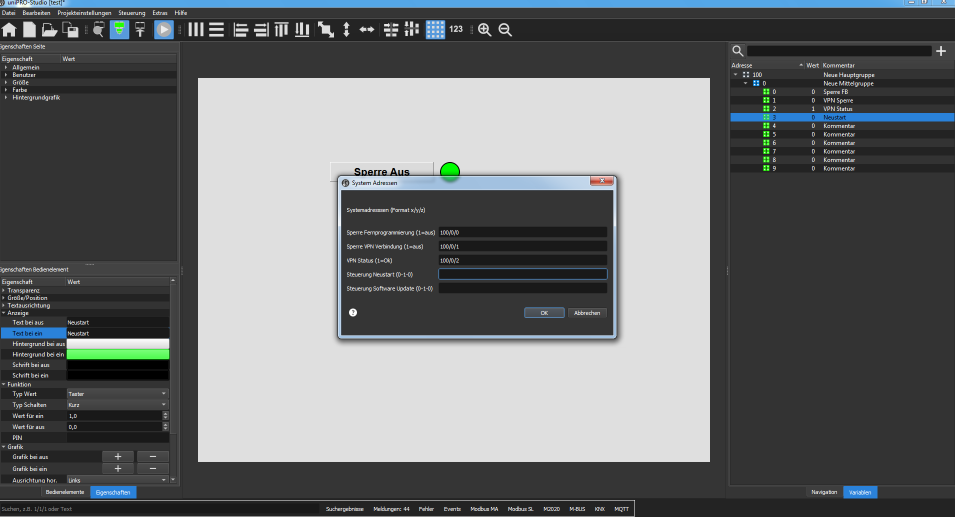
This video shows how to use system addresses.
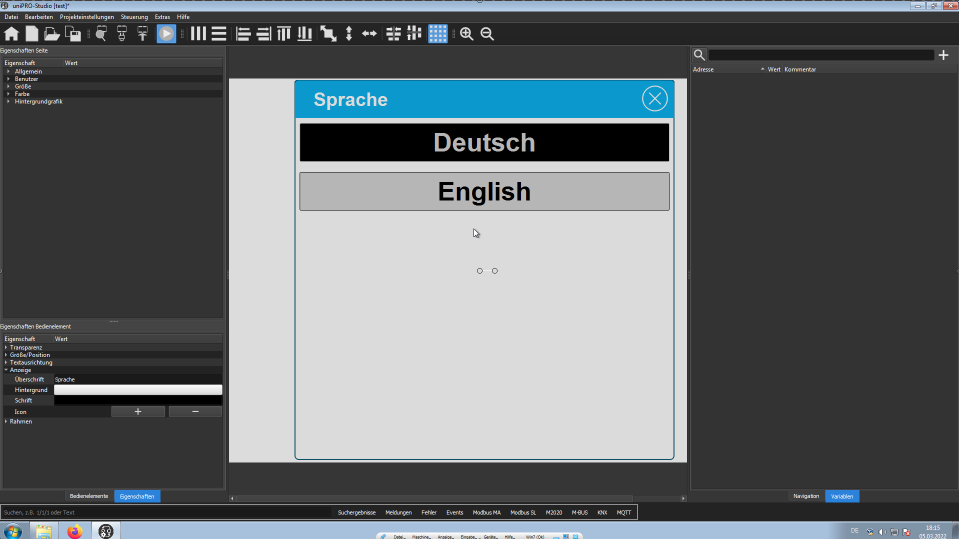
This video shows how to create multilingual
visualizations with live language switching.
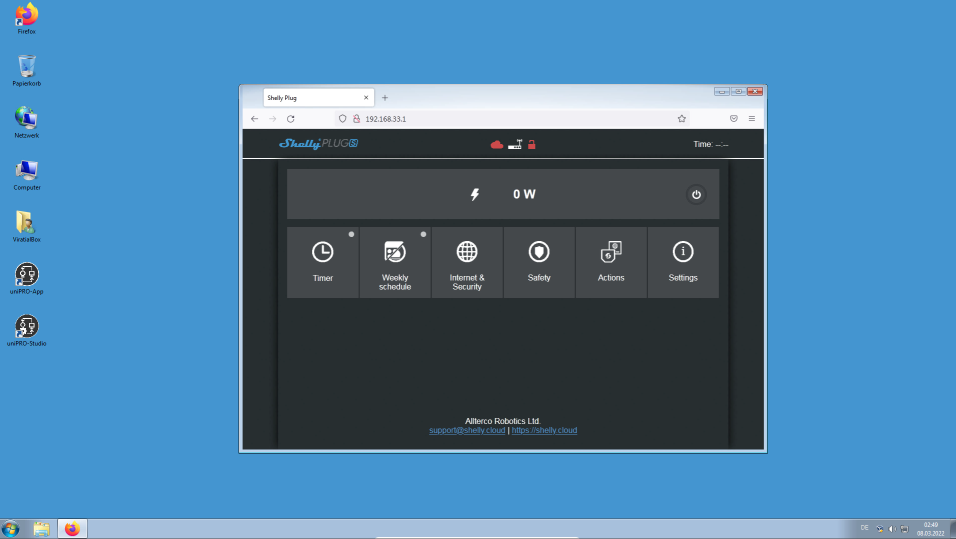
This video shows the integration of a device
via MQTT using a Shelly Plus S as an example.
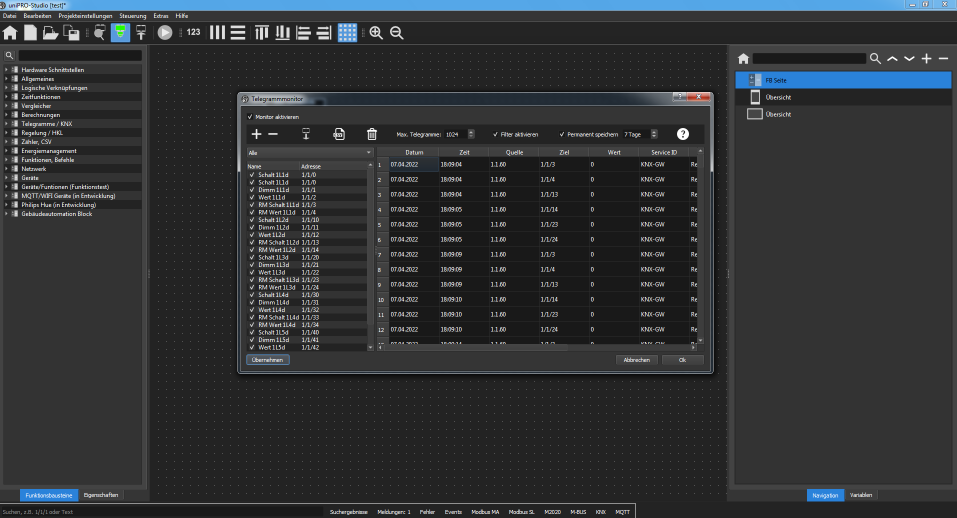
This video shows the telegram monitor for
diagnostics and troubleshooting.
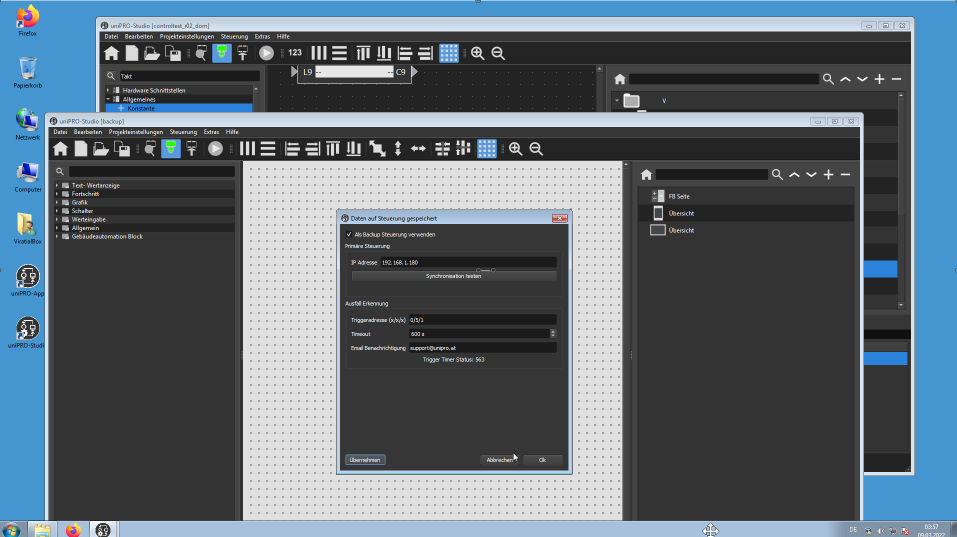
This video shows how to configure a backup
controller. A backup controller is a redundant system made up of two
controllers; if the main controller fails, the backup controller takes
over all functions. Once a day, all data of the main controller is copied
1-1 to the backup controller, which is why it is called a backup
controller.
This video shows the integration of push
notifications via the Pushover service.
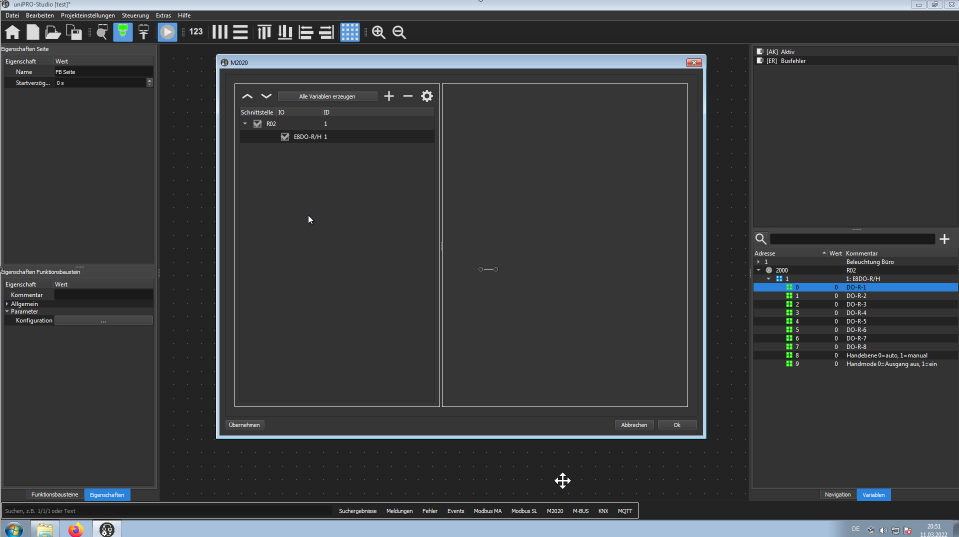
In this video the hardware configuration of
the M2020 IO modules is shown.
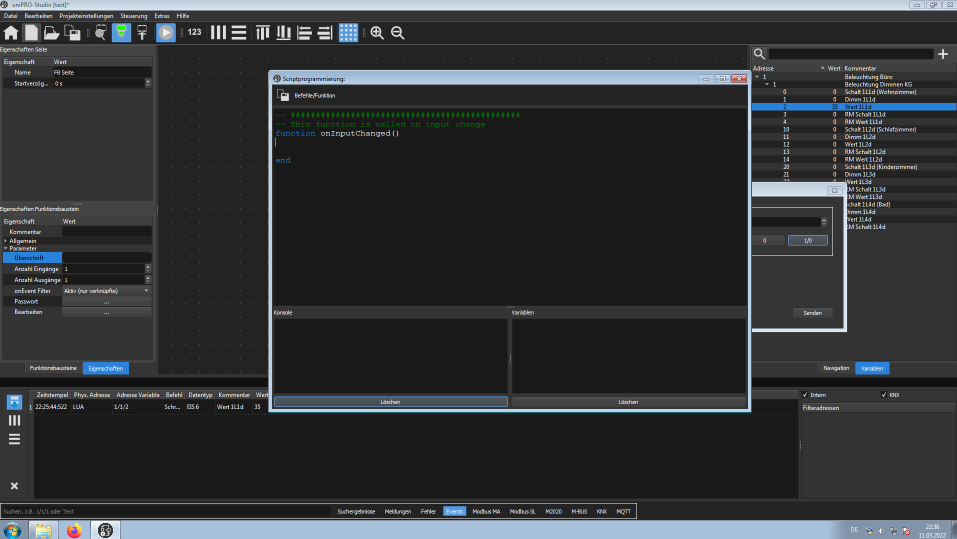
This video gives a short overview of the
integrated script programming.