Visualization
Editor
Visualization
Editor
To add a new page, switch to Navigation in the right-hand view, click on the
"+" symbol and select New Visu Page. Above there is also a search function
to find modules easier. Tip: The view can be enlarged with the zoom
function in the toolbar or with Ctrl + mouse wheel.
For a new page, the following formats can be selected:
- Full screen scaling (tablet 4:3), this corresponds to the aspect ratio
of iPads
- Full screen scaling (Tablet 16:9)
- Scaling height (Smartphone)
A distinction is made here between two scaling options:
- Full screen scaling: In this
scaling mode the visualization page is scaled so that it fits into the
screen without deformation (keep aspect ratio). This scaling is suitable
for tablets that are kept horizontal.
- Height Scale: This scale uses
the entire available width of the screen and scales the height. The
height is then scrolled. This scaling is suitable for mobile phones if
they are held vertically (i.e. list forms).
Both types can be used in parallel in one visualization. If the unit is held
vertically, the first page is displayed with height scaling, horizontally
the first page with full screen scaling. The first page is always the one at
the top of the navigation. This should therefore always be the menu page
from which you switch to the other pages.
In the page properties, the height and width can be set in pixels, but this
is only used to determine the aspect ratio. If the target device has a
higher or lower resolution, it will always scale to the available area
without deformation (keep aspect ratio).
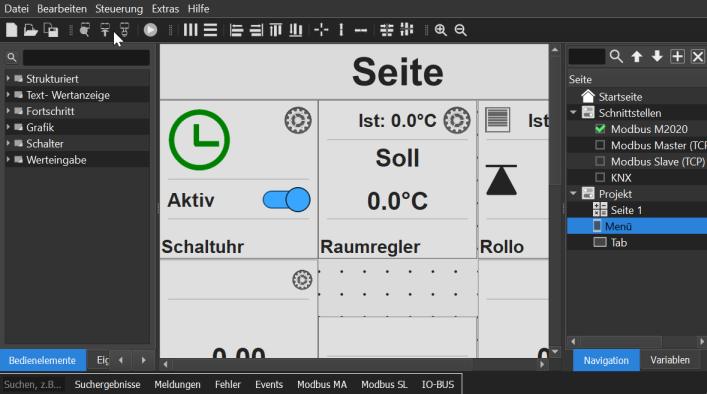
To add a widget, select the widget in the left-hand "Widget" window (2) and
drag it to the new page. Above there is also a search function to find
widgets more easily (1). Tip:
The view can be enlarged with the zoom function in the toolbar or with Ctrl
+ mouse wheel.
The visualization can only be edited if the edit mode is switched off:
When the operating mode is activated, the controls can be operated, but no
new elements can be added or deleted. The visualization then behaves as on
the target device, all functions can be operated without restriction.
Tip: If you click on the control element for 30 seconds, the toolbar on the
APP will be shown. This also works if you click on a free area on the page.
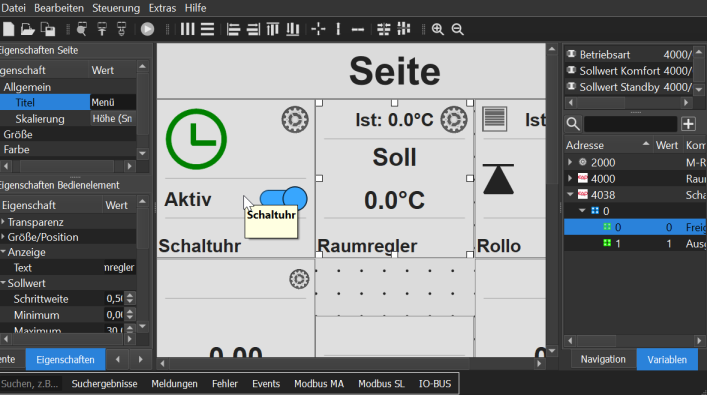
Click on the widget to change the view:
The properties are displayed on the left, the variables and connections for
the widget are displayed on the right. With a click on the page, the view
switches back to the selection of the Widgets. Tip: Double-clicking on
Widgets Block selects the linked addresses in the address window.
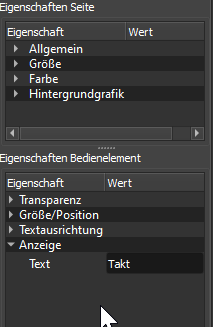
The properties window is divided into two areas:
In the upper area the properties of the page are displayed, in the lower
area those of the control element. See
general parameters.
There are two ways to connect a variable to the widget:
- Drag the variable from the variable window onto the widget, this will
always connect the first variable.
- Drag the variable from the Variable window into the Shortcuts window
Um eine Verknüpfung zu löschen, klicken Sie auf das das Icon rechts:
Tipp: Über das Fenster Verknüpfungen
ist es auch möglich mehrere Ein- Ausgänge gleichzeitig zu verknüpfen.
Markieren Sie hierzu mehrere Variablen im Variablenfenster und ziehen diese
in das Fenster mit den Verknüpfungen, die Variablen werden dann der Reihe
nach verknüpft.