 Introduction
Introduction
Introduction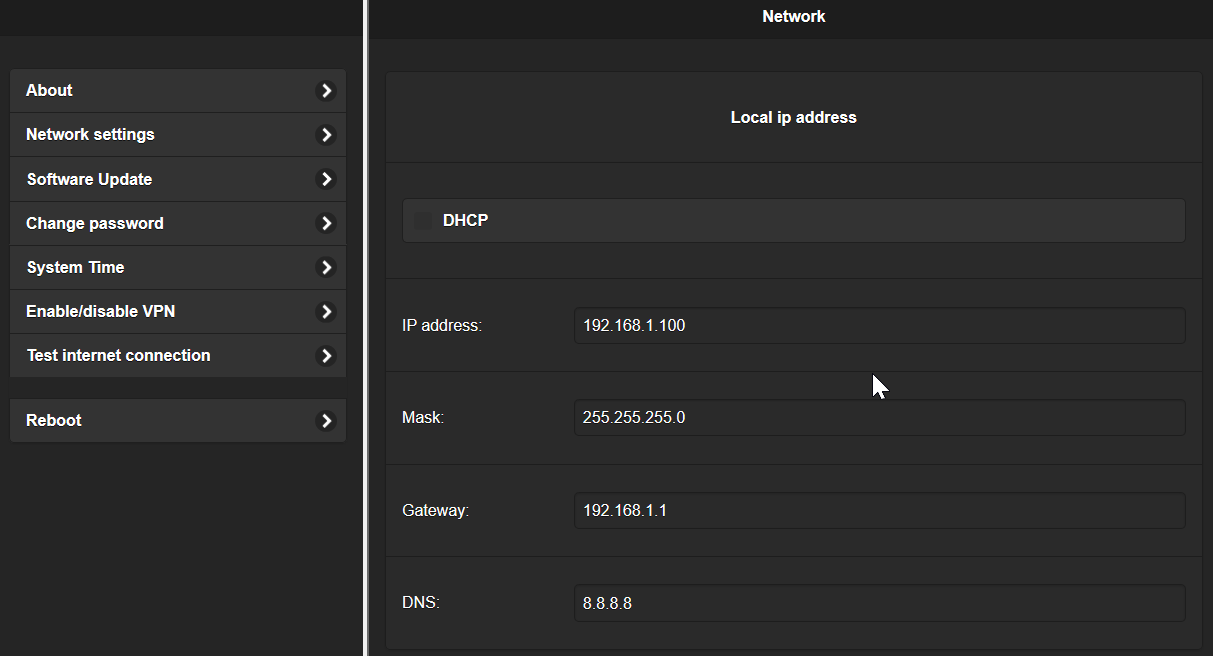

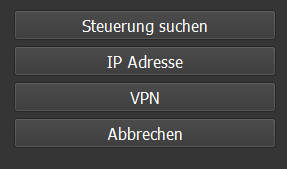
| Click on "Search
control". |
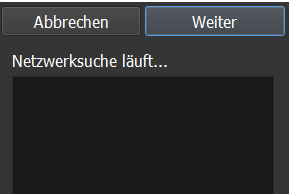
All controls
available in the network are listed, select a control off to click on Next. |
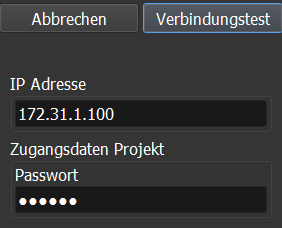
The data of the
selected controller are listet in the fields. Click on Connection test |
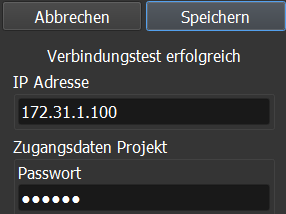
If the connection
was successful, click on Save. |
 |
 |
 |
 |

